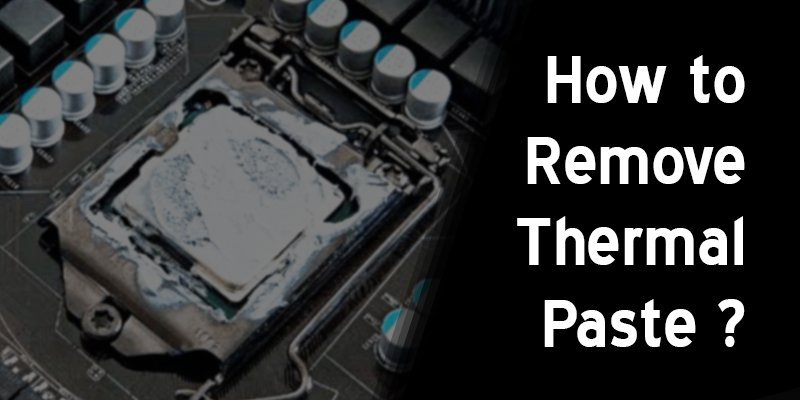
You have not been changing the thermal paste for several years. Unless the thermal paste is changed for a long time, the CPU temperature rises, and the thermal paste becomes stiff and dry. But how to remove thermal paste?
Now is the time to move away with the old thermal paste and replace it as it can reduce the effectiveness of heat sink cooling performance.
However, you are confused, or you have no idea to clean off thermal paste properly.
So this is where you get the right information. This article will help you find the proper method to remove the thermal paste, eliminating all your hesitations.
How to Remove Thermal Paste: Follow the Procedures
Thermal paste is a very high thermal conductive paste that is used to cool the CPU and place the heat sinks and processor chips. Whenever the thermal paste is hard and dry, the old thermal paste needs to be removed, and the new paste applied.
Follow us below, we will show you a few sections on how to remove thermal paste. So let’s start.
Part 1: Do the work without any harm
There is some risk when it comes to cleaning old paste. So first of all, take some precautions to protect yourself and your computer from this risk. Follow the steps you provide below:
Step 1: Shut Down or Turn Off Power
First, open the main menu of the home screen on your laptop or computer. Then click the power button that appears on the home screen and select “Shut Down” to close all applications.
Step 2: Unplug all cords and devices on your computer
In the next level, make sure that all wires and appliances are unplugged into your computer. Then when you work on the laptop, drain the battery and reset it.
Step 3: Wear Gloves and Work in a Fresh Environment
Whenever you start working to remove the thermal paste, wear gloves to protect your hands from any disconnected electricity discharge. Also, try to work in a refreshing environment.
Part 2: Removing The Paste From The Heatsink And The Processor
Below we show you some steps you can take to remove and clean the paste.
Step 1: Remove and Clean the Heatsink
First, you need to remove the heatsink from your computer. So use spruce or dry cloth or paper towel to remove the old thermal paste.
You can use microfiber cloths and alcohol to clean the heat paste. To enjoy better results, make sure the concentration of alcohol is high.
Step 2: Cleaning Process
To clean the heatsink, start rubbing the heatsink with alcohol in a paper towel. Repeat this process until your heatsink is completely clean and nice and shiny.
Step 3: Remove and Clean the Processor
Now it’s the turn to remove the processor by finishing the heatsink clean. As you did in step two, you also follow that process at this stage.
After you finish the process, you will find that the thermal paste has been completely removed from your system, and everything looks great.
Part 3: The Last Application the New Thermal Paste
When you remove the old paste from both processor and heatsink, you need to apply new thermal paste. But don’t rush it. Wait until they dry thoroughly. After using the new paste, you also install the new cooler.
Final Verdict
We hope you have found a solution for how to remove thermal paste from all this information. One thing to keep in mind, you must use well-rated alcohol for cleaning. If you benefit from this article, share it with others who have a similar problem.
More To Explore:

